
Article by Mark Watson
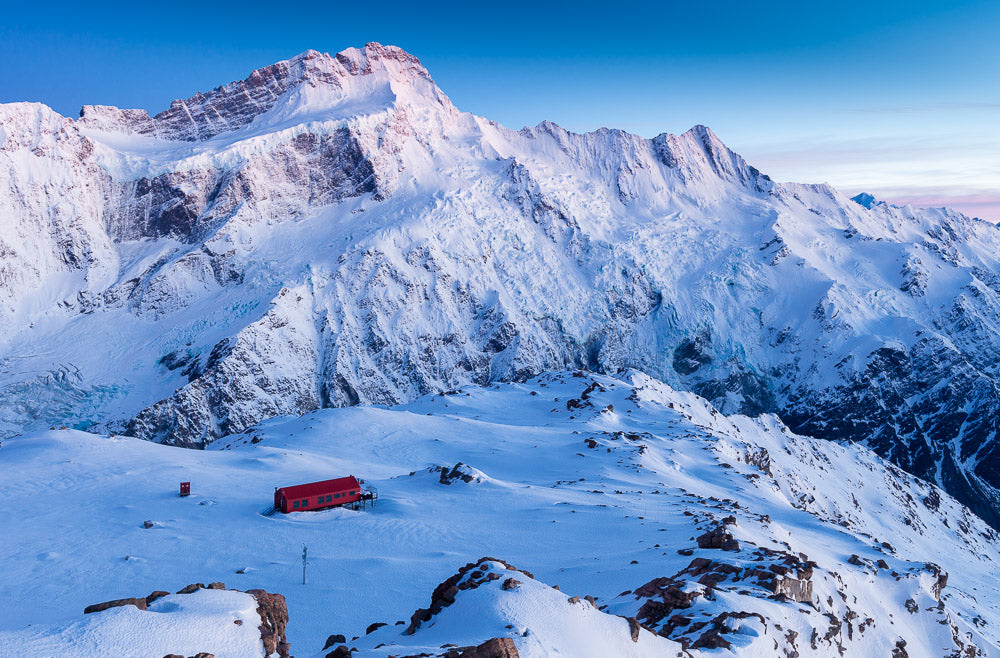
Despite the cold, the shorter days and sometimes soggy tracks, winter is a great time of the year to be in the mountains: snow and ice brings a different dimension to the land, there’s less people around and the lower angle of the light is great for photography. The evenings are longer, which can mean more time relaxing in a cosy hut or tent, deep in your sleeping bag with a good book.
But those shorter days, colder temperatures and the winter snowpack bring a new set of challenges; from keeping warm enough, to travelling and camping safely on snow, and avoiding avalanches. This article covers some of the basics to think about, so you can venture into the hills and have a safe and comfortable trip.
Dress for the cold
Some adaptations to your usual tramping kit will make winter wanders more comfortable. A warmer hat and neck gaiter, a thicker base or midlayer and warmer long johns are enough to make quite a big difference, and a down jacket with a hood will be much warmer than one without. Even light winds in winter can chill you quickly, so a breathable, windproof jacket is a must – you’ll wear it a lot above the bushline. Windproof or waterproof mid weight gloves are great for walking with poles or your ice axe.
Wear snow gaiters and stiffer boots
While short, lightweight gaiters can be great for speedy summer trips, taller snow gaiters are what you want in winter, and many people use them year-round, because they’re good in scrub and on overgrown tracks. Snow gaiters, aside from keeping your lower leg warmer, keep snow out of your boots and stop it clinging to your clothing when you have to post hole through snow. An in-step strap is essential to stop the snow from pushing the gaiter up off your boot.
Leave your lightweight fastpacking boots at home and wear something slightly stiffer in winter, so that you have better purchase in snow or mud, and ideally wear boots that have a good edge on the sole – they’ll cut into firm snow more reassuringly. If you’re going to be using crampons, make sure they’re compatible with your boots.
Carry an ice axe and crampons when conditions dictate
For trips where there is anything more than a thin coating of snow, or there is a chance of heavier or frozen snow cover, then these tools are essential for winter and spring travel – along with instruction on their safe use. Ice axes should be long enough that you can use them for maintaining balance on snow slopes, while crampons should be fitted to your boots and checked before you head into the mountains. For some trips, an axe alone will be sufficient if you anticipate brief sections of step cutting, and is lightweight insurance if you encounter an unexpected patch of hard snow on a pass or in a gully.
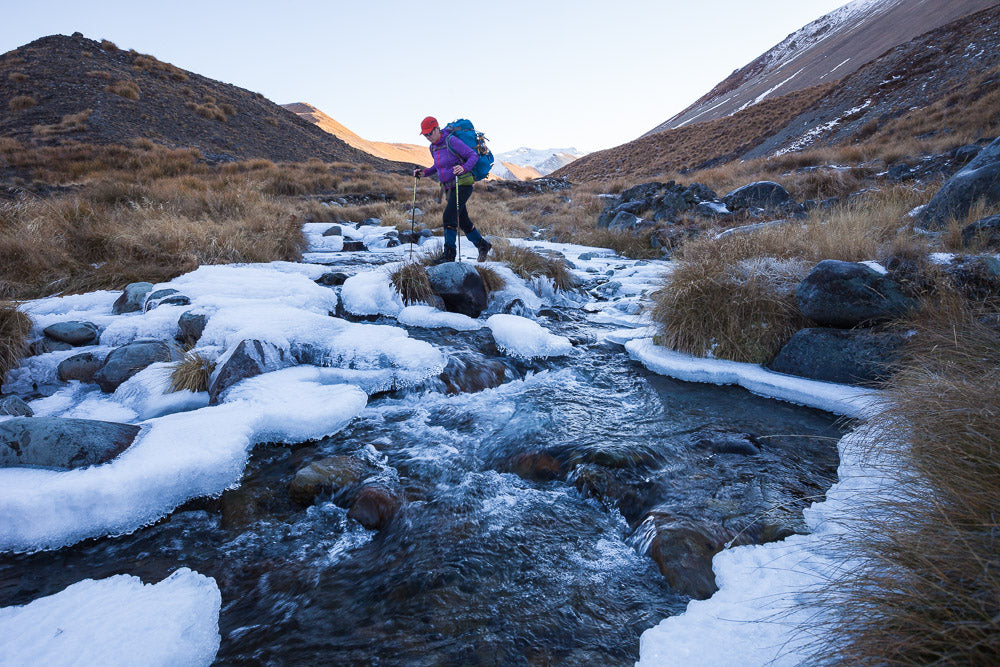
Use hiking poles for balance and efficiency
Hiking poles help with balance and momentum if you have to walk through deep snow. One pole, plus an ice axe can be a good combination for preventing loss of balance or slips while crossing snow. Adjustable-length poles are best and safest. Fit snow baskets if you can – they will make life much easier if you have to post hole.
Check the weather before you go
As with any backcountry trip, get up to speed with the weather before you head in. Don’t just pay attention to the forecast, also look at the weather of the previous few days to get an idea of rain and snowfall. Consider river levels, and the snowpack. A big dump of snow can make travel slow and impractical, and it could contribute to avalanche hazard. You should be ready to reevaluate plans if conditions are not agreeable for the level of skill and experience in the party. The Met Service has excellent mountain forecasting, as well as specific forecasts for national parks and mountain regions.
Consult the Avalanche Advisory for the latest risk level
Whether or not you are heading above the bushline, it’s good to get an idea of what the avalanche advisory warnings are. Avalanche paths cross many New Zealand tramping routes, even if you are below bushline. The New Zealand Avalanche Advisory contains a trove of useful information and recommendations for popular regions, as well as general avalanche advice. Some trips may warrant carrying avalanche safety equipment, such as transceiver, probe and shovel, along with the knowledge of how to use it.
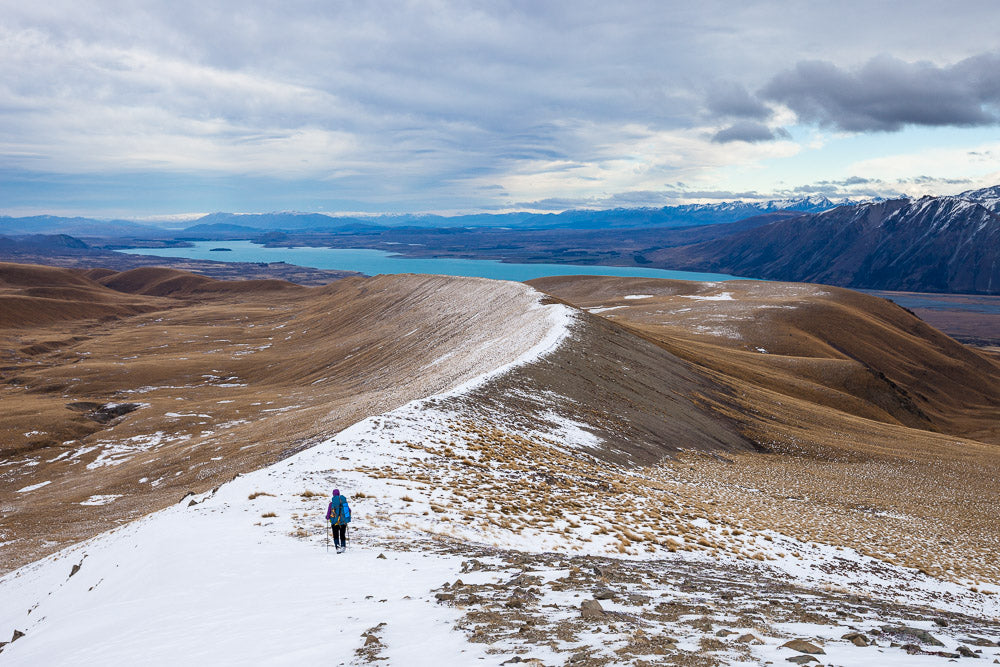
Plan for slower tramping times than summer
Some tramping routes will be slower in winter than summer, due to mud, wet conditions and snow or ice. Allow for this in your trip planning and make sure the objective is suitable for everyone in the group.
Be aware of snow blindness
When you’re above the bushline and into the snow, wear sunglasses to protect your eyes from snow blindness. This painful affliction can happen in overcast or low visibility conditions with sufficient exposure and is not just a risk during sunny days. Snow is highly reflective, so apply high SPF sunblock liberally, or cover up. Lip salve, such as Blistex is important too, to keep your lips from getting fried. Keep it in your pocket for ease of access and to remind you to put it on.
Carry spare torch batteries
This is something trampers should do at any time of the year, but becomes especially important during winter, when less daylight hours makes for longer nights and an increased chance of having to walk in the dark. You’ll be using your torch more at the hut or campsite, and possibly for route finding too.
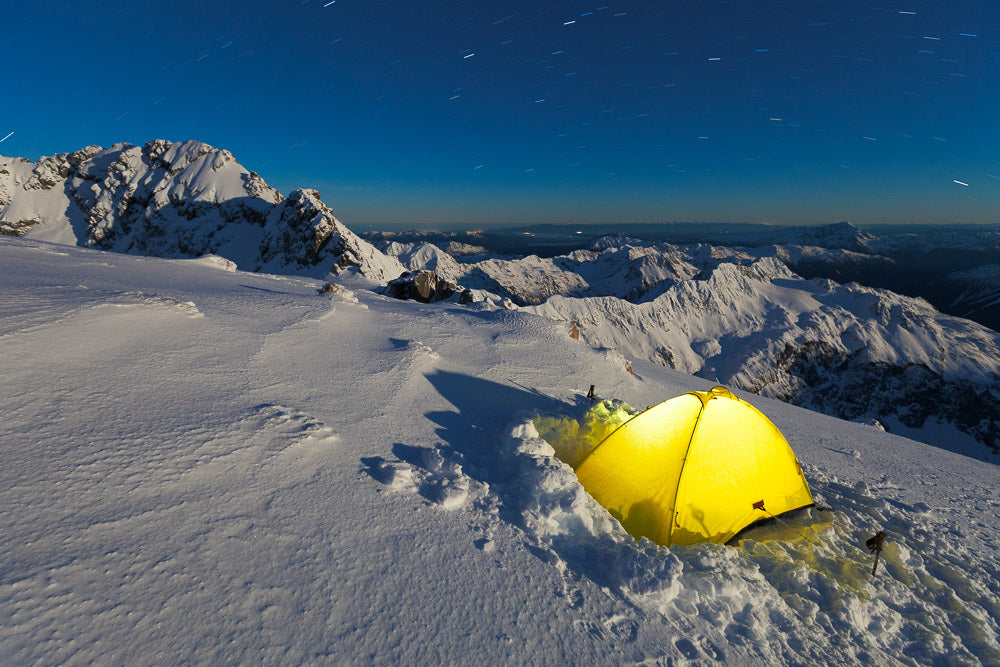
Choose campsites carefully
Camping in the snow brings its own set of challenges and some new things to think about. Four season tents will be stronger in wind and snow loading. You’ll need pegs that are long or wide enough for purchase in snow, or another method for anchoring your tent. Axes and crampons can be good for this, or you can fill a stuff sac with snow and bury it to anchor guy lines. Site selection is important too: avoid potential avalanche paths, or places where snow can fall on you, or build up and bury your tent. A snow shovel can greatly speed up site preparation, and is great for building a snow wall wind shelter around your tent. Extra closed cell foam, if you use an inflatable mat, can make tent life warmer and more comfortable.