
Welcome to the Gearshop blog. While we’re all about maintaining an extensive range of outdoor equipment for anyone from complete beginner to serious adventurer, our staff also have many decades of combined outdoor experience and we like to impart knowledge and share it with our customers. We share in your passion for the outdoors and want to help you head off on your next adventure with the right preparation, gear and mindset.
On this blog we will be posting a series of expert columns, from the basic to the technical, covering some of the varied sports we retail equipment for.
Sign up for some free know-how from our team.
Bikepacking 101: Preparing for your first bikepacking ride
Article by Mark Watson
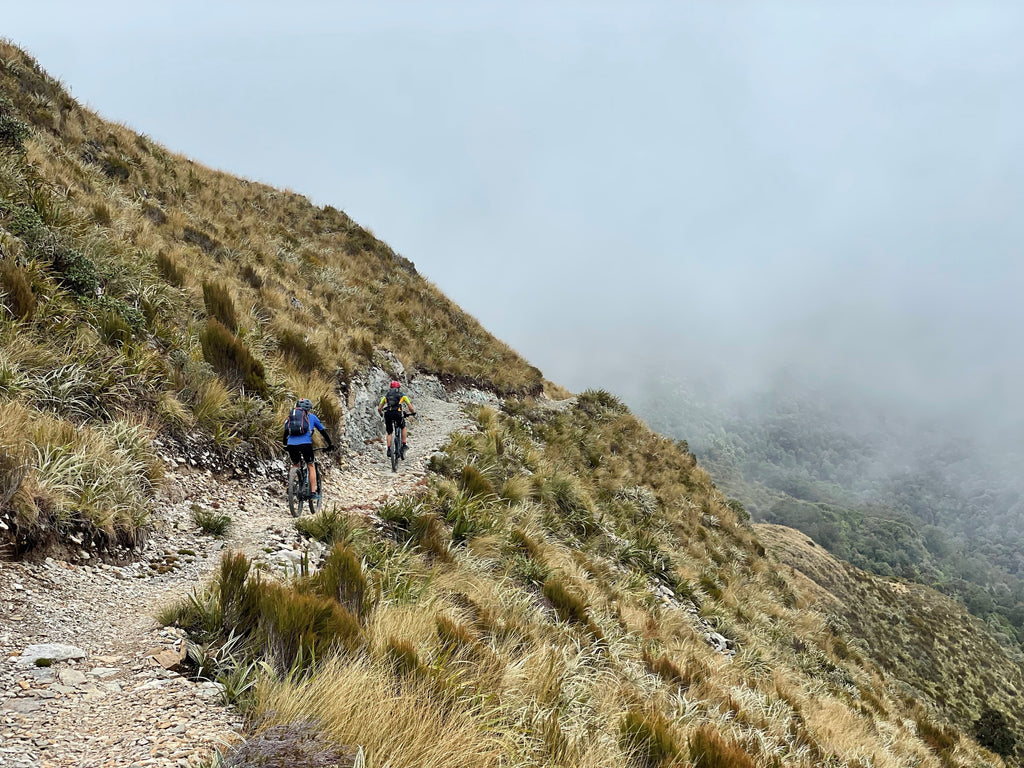
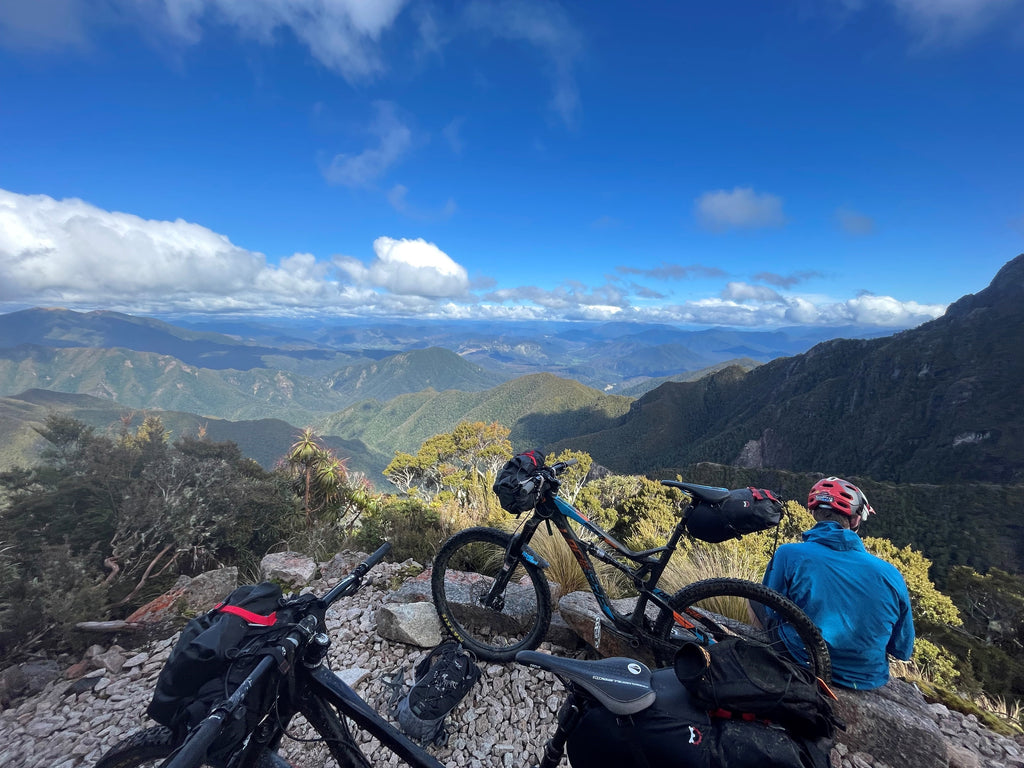
It might be a new name for an old sport, but the fundamentals of bikepacking haven’t changed: setting off on a lightweight cycle journey – be it a weekend, a week, or months – travelling under your own power and carrying everything you need. It’s a fun and rewarding way to explore the cycle trails, back roads and ranges of New Zealand, and beyond.
You could think of it as tramping on a bike, but because of the efficiency of bicycles, you can cover a remarkable amount of terrain in just a few hours, hopefully with some great riding along the way. But like going tramping, or anywhere where self reliance is called for, there’s a few basics that are good to think about before you sit on that saddle and pedal away.
Planning & Navigation
Know where you’re going, and roughly what to expect. Is the ride achievable for the whole party in the given timeframe? It’s good practice to plan your trip beforehand with a service like Ride With GPS, and then load a GPX of the route into your phone or navigation device. That way you can make decisions en-route with accurate information regarding distances and elevation gain/loss. Download or cache the maps you’ll need before you hit the trail and carry spare batteries or a powerbank. Make sure you have spare batteries for your head torch too, in case you get benighted.
Packing the Bike
For non-technical rides and longer trips like Tour Aotearoa, aim to fit all your gear on the bike, but for singletrack and technical rides, some load on your back can improve handling. Your bike will handle better and you’ll have more fun climbing hills if you pack light, while still carrying the equipment you need for bad weather or to make basic repairs to your bike.
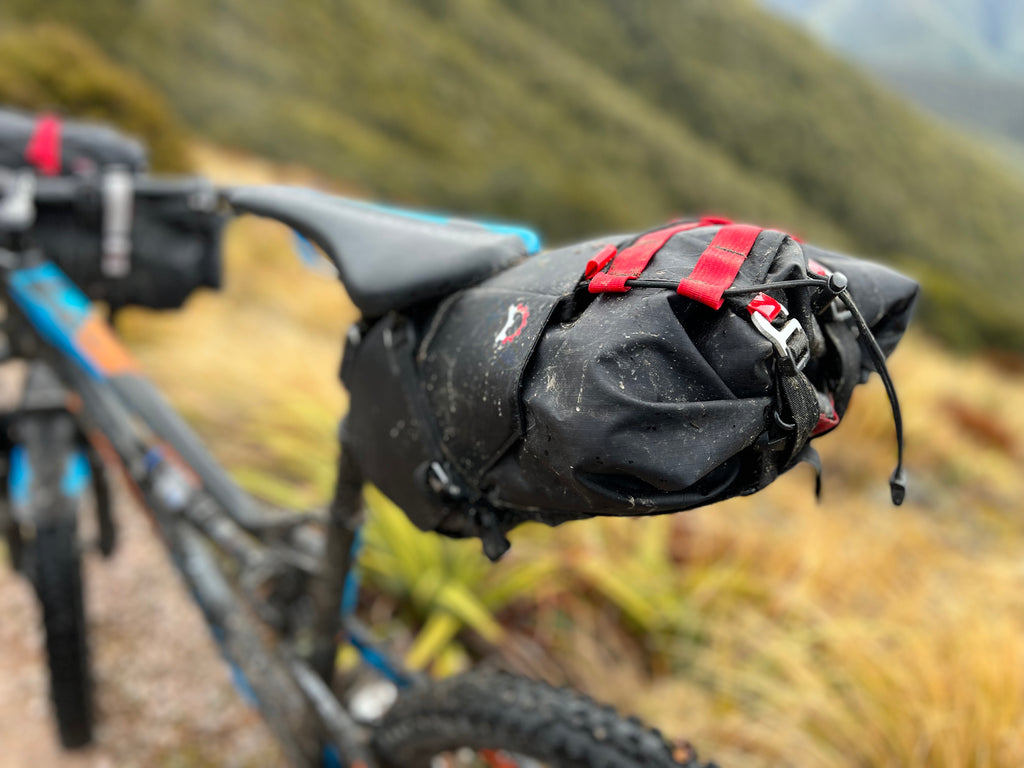
A comfortable, minimum set up for singletrack rides such as the Old Ghost Road is a daypack and a handlebar carrying system such as the Revelate Designs Harness. This lets you carry bulky items such as a sleeping bag, down jacket and spare clothing on the bike, while you carry food and other equipment on your back. Small bikepacking bags such as the Mag Tank or Jerrycan are great for food or accessories. The next upgrade is a seat bag, which will take more weight off your back, but make sure you get a dropper compatible one if you run a seat dropper post. Frame bags provide even more capacity and are great for compact, heavy items due to the low centre of gravity. Your bike will handle best when the weight is distributed between two to three main bags.
Clothing
A base layer, mid layer and a light insulated jacket are the go-to combination of layers for up top, with a waterproof shell garment for rainy days or high winds. Many cyclists like to carry a light windbreaker or vest too, to keep off wind chill. Three quarter overpants or waterproof shorts are great on wet days and will increase your comfort level. Don’t forget a warm hat and long finger gloves. If you’re riding in cold weather or above the bushline, an insulated glove might be required too. Arm and knee warmers work well in combination with cycling clothes to control your warmth, and a buff can be great on chilly days. Long johns and a spare base layer are great in camp and for sleeping in.
Nutrition
‘Eat before you get hungry’ is the adage that many bikepackers live by. Relative to tramping, cycling happens at a higher intensity and you burn available fuel stores quite quickly. On a day ride, start eating after the first hour and keep food going in often to avoid hypoglycemia, or ‘bonking’, in cycling parlance. A combination of both high and low GI carbohydrates, proteins and fats will keep your engine running well. Electrolytes and gels can be great for epic days. Freeze dried meals are your best option for lightweight dinners with sufficient calories. Don’t carry more food than you need – will resupply or meals will be available along the way? Don’t forget to check opening times.
Hydration
If you’re wearing a backpack, then using a hydration bladder, such as a Camelbak, is convenient, and even without a pack, some cyclists prefer to carry water on their backs anyway, partly to keep weight off the bike, or because of limited capacity on-bike. But many bikepackers, especially for less technical riding, prefer not to have anything on their backs. If you’re using a frame bag, then a good place for water bottles is inside Revelate Designs Mountain Feed Bags, or in a cage under your downtube. The feed bags are awesome for on-the-move snacking too. If you’re riding in areas where there is livestock, then you’ll need to treat your water. Steripen (UV treatment) or Katadyn BeFree (in-board bottle filter) are both great options.
Shelter & Sleeping
If you don’t have the luxury of hut nights on your trip then you’ll need a tent. For New Zealand bikepacking a lightweight three-season tent will cover most bases. The Big Agnes series of bikepacking specific tents have ultra short poles and other handy features that make them ideal. For summer trips where there are not too many bugs, using the fly by itself will save you some weight and bulk too. Lightweight sleeping bags or a sleep quilt will save you weight and packing space; remember you can always sleep with some (or most) of your clothes on – warm socks, long johns and a hat make a big difference. Air chamber style sleeping mats provide the most comfort for the least weight and bulk.
Cooking
A simple lightweight cooking system is the ticket here. Jetboil or other ultralight canister systems are hard to beat for speed, but Toaks titanium alcohol stoves are the lightest option. A caveat of either of these systems is that your meals will need to be simple. Freeze dri is the easiest but it’s also possible to make meals with instant noodles or dried mashed potato, tuna and some steamed (or rehydrated) veges, for example. A collapsible bowl and a spork are the only other accoutrements you need.
Repairs
Getting caught out with a puncture mid-trip and having no way to fix it is not a good look. For most modern bikepacking bikes, tubeless is by far the most reliable method to go with, but make sure tyre plugs, spare sealant, a needle and strong thread and a spare tube (generally to be used in that order of priority) are part of your kit. A small Leatherman style tool with pliers and scissors can be invaluable, and of course a multi tool with allen keys, a chain breaker and quicklinks and two tyre levers are the basics. Carry a bit of duct tape on your pump and a few cable ties too – and don’t forget some chain lube.
Emergencies
Even on popular bikepacking tracks it’s good practice to carry a locator beacon. Serious accidents might require urgent help or rescue and just because there are other people around is no guarantee of help. Be self sufficient and able to get assistance if you have a problem. Even though many places in NZ have mobile coverage now, you should operate on the assumption that you’ll be in a dead spot – always consider the worst case scenario. Your first aid kit should have a variety of pain meds, steri strips and larger dressings as well as plasters and a stretchy bandage. Medical tape is useful for blisters and keeping dressings in place.